
Terrible Lizards Chapter 3 Walkthrough: Rail and Freight Caverns
Rail and Freight Caverns route: goo launch pads, the Allosaurus stare, the freight platform puzzle, and all four fuse locations.
Chapter 3 is the longest chapter in Terrible Lizards, and the one that changes the rules. The Digsites taught you to read a route and keep moving. Rail and Freight Caverns adds two new verbs: the yellow goo that launches you upward, and the Allosaurus that hunts you through spaces built for trains, not people.
The chapter is split into two halves. The first half is a linear escape through flooded freight tunnels, ending with a wall-run section and a suspended platform puzzle. The second half opens into a large rail cavern and asks you to find four fuses while the Allosaurus patrols the same space. The route is long, but the checkpoints are fair, and most confusion comes from the vertical layout rather than the puzzles.
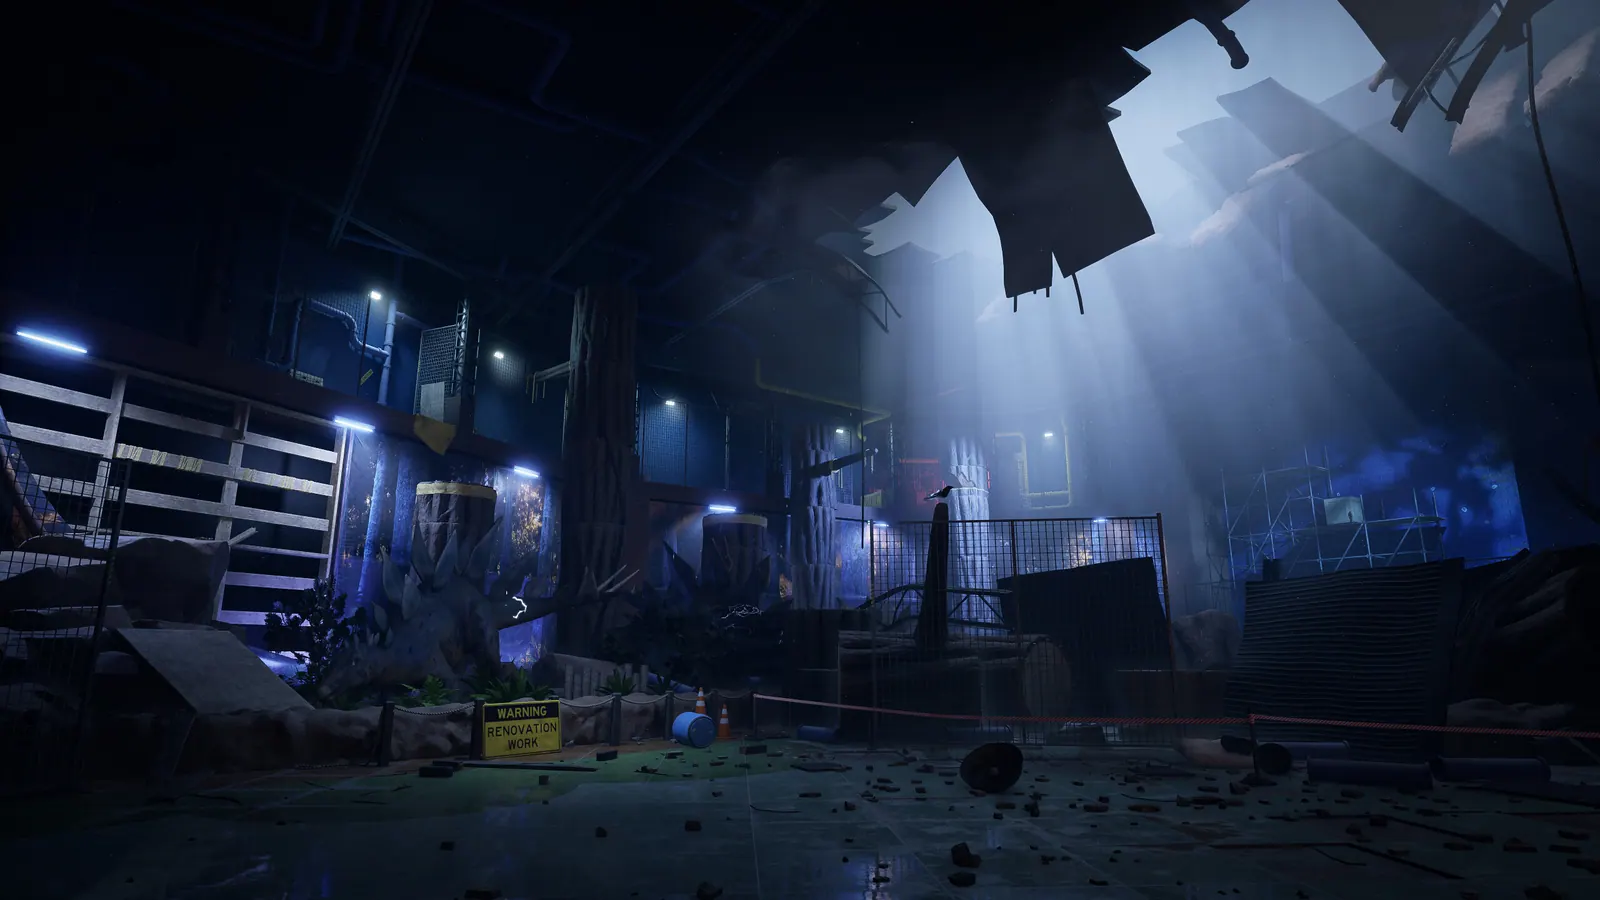
Follow the flooded tracks to the first Allosaurus encounter, learn the goo launch, restore power at the raised control building, and blast the metal door with dynamite. Survive the first hunt, cross the wall-run gallery, repair the freight platform, then collect four fuses in the rail cavern: generator enclosure, ground-floor office, upper wooden office, and the locked shed. Install all four at the central panel and take the Motherlode route.
Chapter 3 at a glance
| Detail | What to expect |
|---|---|
| Chapter name | Rail and Freight Caverns |
| Main threat | Allosaurus, first in a scripted hunt and later during the fuse search |
| New mechanics | Yellow goo launch pads, adhesive wall runs |
| Critical items | Dynamite, freight platform key, shed key, four fuses |
| Stuffed animal | On the floating planks in the water near the start |
| Chapter exit | The Motherlode control area after the four-fuse panel |
| Estimated time | 90–120 minutes on a first run |
The chapter's internal logic is "power on, door open." Almost every locked door is tied to a generator, a fuse box, or a dynamite charge, and the game rarely gives you two objectives at once. If you are stuck, look for the nearest red light or the nearest sparking cable. Both mark a power route.
Flooded start and the first Allosaurus
You begin in ankle-deep water with the rail tunnels stretching ahead. Before you follow the tracks, check the fenced work area on the left. The Water Issues note is inside, and the floating wooden planks beyond it lead to this chapter's stuffed animal. Pick it up. You need to carry it to the pedestal near the end of the chapter without dying, so treat every hunt as an escort mission until you reach the Motherlode.
Follow the main walkway to the next worksite. The Allosaurus appears here for the first time. It does not attack immediately. It walks across the far end of the platform, stops, and turns its head toward you. The first encounter is a warning, not a chase. When control returns, the dinosaur is gone, and the route continues into the machinery area.
The first major obstacle is a patch of yellow material stretched across a gap. Unlike an ordinary floor, this surface launches you upward. You cannot finish the chapter without learning it.
Goo, timed doors, and the train worksite
The goo acts as a springboard. Run onto the surface, jump as it launches you, and steer toward the upper landing before you leave the goo. Trying to correct the entire jump after launch usually sends Jordan past the platform or back down into the lower area.
Some goo patches only appear after you press a red button. In those rooms, find the button first, identify where the goo will appear, then position yourself for the shortest route between the button and the launch point. Activate the button, move immediately to the goo, and jump toward the marked landing. If the surface disappears before you reach it, return to the button and repeat.
A timed-door section follows the same principle. Pressing the control starts a short window, so identify the exit before you press it. If you press first and look second, you will waste the opening.
The machinery route leads to a train worksite with tracks, industrial controls, and a raised control building. The train button near the tracks moves the front of the train and reveals another goo patch, but the tram itself will not take you anywhere until the site has power.
Power, dynamite, and the generator
The raised control building overlooks the train equipment. Reach it by following the climbing route around the worksite, then check the outside wall before you go in. The building's controls depend on an external power lever.
The sequence is:
- Climb to the raised control building.
- Pull the power lever on the building's exterior wall.
- Go inside and press the red machinery control.
- Return to the lower work area and open the dynamite locker.
- Carry the charge to the blocked metal doorway and place it at the receptacle.
- Follow the connected wire to the detonator and use the plunger.
The dynamite does not open the door just because it is in your inventory. Place it at the marked point, then use the separate plunger. This is easy to overlook when you are trying to move straight through the obstruction.
The blast opens the metal doorway. Beyond it, start the generator to restore power to the train machinery. The raised building gives you the explosive; the generator beyond the blasted door gives you the power. Activating one does not complete the other.
With the generator running, return to the train controls and use the newly powered route to cross the train area along the upper structures. The path leads through more tunnels and work areas until the Allosaurus forces a direct escape.
The first hunt: how the Allosaurus rules work
The Allosaurus behaves differently from the Brontosaurus. There are sections where constant forward movement is necessary, but there is also a short opportunity to interrupt its approach by looking directly at it.
A note titled The Allo Has Rules explains the behavior. The creature can stop briefly when confronted face to face, then become aggressive again. That pause is an escape opportunity, not a way to defeat it or keep it stationary.
The practical rules:
- Face the Allosaurus briefly if you need space to reach the next passage.
- Turn away and move as soon as it stops. Do not wait for a longer opening.
- Use narrow gaps and tight rock passages to break its approach.
- Follow the visible route markings and return to forward movement once the opening is clear.
A prolonged stare is a losing choice. The Allosaurus resumes its attack after the brief interruption, and remaining in the open gives it room to close the distance.
The hunt continues through cramped passages. One awkward moment comes when the creature occupies the passage you need. Running directly at it does not solve the obstruction. Wait until its movement creates an opening, then cross to the next narrow route.
The first chase also has a scripted fall: the wooden floor gives way under you, and you drop into a lower corridor. Do not try to jump back up. Follow the lower path to a wall with a small hole at the bottom, slide through, and the Allosaurus loses the trail. If you miss the hole, you will hit a dead end and have to double back. Look for the yellow light on the floor; it marks the opening.
Flood escape and the wall-run caverns
After the hole, you are in a flooded service tunnel. The water is knee-deep and rising. Follow the tunnel, climb the ladder, and take the catwalk to the next area. The flood chase is a scripted sequence: run along the collapsing walkway while the water rises behind you, and do not stop to investigate the side rooms.
The next section adds adhesive surfaces. You will find goo-covered panels on walls, often framed by metal structures or placed between platforms that are too far apart for a normal jump. Jump onto the adhesive wall while moving, then jump away toward the next ledge or hanging bar.
The common failure is leaving the wall without deciding where to land. An apparently successful wall run can still end in a fall if you jump away from the wall into empty space. Look ahead before you start each run. Later sections chain adhesive panels, hanging bars, ladders, and narrow ledges, so maintain momentum but release toward the next support instead of running to the end of the wall.
The route eventually opens into a freight area with train cars, offices, and a large suspended platform.
Freight platforms: key, fusebox, generator
The freight cavern has two separate obstacles: access to the work area, and power for the suspended platform.
First, explore the offices beside the tracks and collect the key that opens the locked gate. The key is not on the ground floor; check the desks and the upper office route. Use it at the gate, then repair the fusebox inside the work area. Follow the stairs and connected equipment to the yellow generator and start it. This makes the platform controls usable.
The red buttons move the suspended platform; they do not send Jordan across automatically. Use the first control to bring the platform into reach, then cross the adhesive wall and hanging-bar sequence toward it. A second control farther along the scaffold changes the platform's position again. Operate it before trying the next crossing.
If the platform remains beyond jumping distance, return to the red controls and reposition it. The crossing becomes possible only after the suspended machinery moves closer.
After the platform crossing, climb the wooden structures and follow the route through the tall shaft. The climb uses the same movement skills you have been practicing, now with less room to recover from a bad jump. An Allosaurus interruption occurs around the lift section; keep following the accessible cave route instead of waiting for the damaged lift.
Continue past the work area containing Dalton's belongings and recording. The route eventually opens into a large rail cavern with floodlights, a generator, a central control, and several small offices. This is the four-fuse section.
The rail cavern: all four fuses
The large rail cavern requires four replacement fuses to restore its main power system. All four belong in the same central fuse panel near the floodlights. They are not four switches scattered around the cavern, and the locked shed is not the main power control.
The Allosaurus patrols while you search. Use the sheltered routes and elevated platforms; you do not need to stay on the open floor for the entire collection.
A practical order is to collect the accessible ground-level fuses first, then take the upper route for the shed key and the remaining pickups.
Fuse 1: generator enclosure
Find the fenced work area with the yellow generator. Follow the cables and floodlights toward the enclosure. The first fuse is on the illuminated green workbench in this area. Pick it up and start the generator before you leave. Watch the Allosaurus as you exit; fenced structures and narrow passages can separate you, but not every open doorway is a safe hiding place.
Fuse 2: ground-floor office
Return to the rail cavern and look for the low office with broad windows overlooking the work area. Search it before taking the longer route above the cavern. A second fuse is here, and you can collect it without the shed key. The office is also a useful place to check the Allosaurus's movement before returning to the open floor.
Shed key: upper platforms
One fuse is inside a wooden shed along the tracks, and the door is locked. The key is not inside the shed or on a nearby ground-floor desk. You need to climb the upper structures.
Look for the wooden stairs near the Call It In sign. Climb from there and use the hanging bars, elevated platforms, and adhesive wall surfaces to cross above the cavern. Partway through the route, find the elevated key cabinet and take the key labeled Shed.
This detour is necessary. Trying to force the shed without the key will not open it. Keep moving along the upper route after you take the key, because the next fuse is on the same level.
Fuse 3: upper wooden office
Continue across the bars and goo-covered panels from the shed key until you reach a small wooden office above the cavern. The third fuse is inside, on the work equipment. Collect it before you descend; leaving immediately after the key means you may have to repeat the elevated section.
Fuse 4: locked wooden shed
Return to the wooden shed on the cavern floor. It is marked by a notice saying its keys are kept above. Use the shed key, open the door, and take the final fuse from the illuminated workbench inside.
Install all four
Return to the central power panel near the bright floodlights. Fit each fuse into the panel and confirm that all four indicators turn green. A partially repaired panel does not satisfy the objective, even when the generator is already running.
When all four lights are green, return to the large control console and activate it to open the next route.
Before the October 30 patch, the second Allosaurus encounter could fail to register all four fuses, leaving the panel stuck at three. If you are on an older build, reload the checkpoint and install the fuses one at a time, waiting for each indicator to change before you leave the slot.
The Motherlode and the final escape
The restored gate opens the next part of the excavation, but you are not done climbing. Follow the elevated structures toward the Motherlode, using the marked ledges, hanging bars, and wall-run sections to cross the gaps. The route brings you to another outpost and a tall control structure.
Climb around the building toward its upper machinery. Check the nearby fuse and power equipment when the controls are not ready. This section has its own local electrical interaction, separate from the four-fuse panel you already completed.
Once the connections are restored, operate the red control in the upper area. The machinery opens the onward path.
The route beyond the control area leads into a much more organic cavern system. Be ready to move when the Allosaurus reappears; the final stretch is an escape, not another search. Follow the descending structures and goo-covered passages, and keep your attention on the next landing rather than turning around to watch the dinosaur.
Before you commit to the final route, check the pedestal near the sloped building beyond the large metal structure. If you collected the stuffed animal near the flooded opening and kept it through the chapter, place it there now. Reaching the pedestal without the toy does not complete the placement.
The chapter ends when you reach the deeper blue caverns. Completing this section earns Slime-o-saurus, the achievement for finishing Level 3.
Mistakes that cost first runs
- Missing the stuffed animal at the start. It is on the floating planks behind the opening area. If you skip it, you cannot complete the pedestal in this run without replaying the chapter.
- Pressing a timed-door button before finding the exit. The window is short. Identify the door first.
- Trying to fight the Allosaurus. You cannot. The stare buys a pause, not a kill.
- Leaving the wall run without a landing in mind. The wall is only half the move; the jump off it is the other half.
- Installing three fuses and leaving. Check all four indicators before you touch the main console.
- Forgetting the shed key route. The fourth fuse is locked, and the key is above the cavern, not on the ground floor.
FAQ
How long is Chapter 3? Most first runs take 90 to 120 minutes. It is the longest chapter in the game, and the second half adds a free-roam fuse search on top of the linear first half.
Can you kill the Allosaurus? No. The Allosaurus is a pursuit predator, not a boss with a health bar. Facing it briefly can interrupt its approach, but it cannot be defeated.
Where is the stuffed animal in Chapter 3? On the floating wooden planks in the water near the start, past the fenced work area with the Water Issues note.
Where is the shed key? On the upper platforms above the rail cavern, in an elevated key cabinet reached from the wooden stairs near the Call It In sign. It is not in the shed or on a ground-floor desk.
What happens if you die while carrying the stuffed animal? The animal resets to its original location. You have to pick it up again. The pedestal is near the end of the chapter, so grab the animal early only if you are confident in the hunt sections.
Do you need the goo to finish the chapter? Yes. The goo launch pads are required to reach the upper routes in the train worksite, the freight platform, and the rail cavern.
What to do next
Chapter 3 ends in the deeper caverns, and Chapter 4 begins immediately. If you missed any amber, tapes, or notes, level select lets you replay the chapter without starting a new save. The collectibles guide has the confirmed spots for every chapter, and the achievements guide explains which pickups count toward which unlock.
For the next leg of the route, read the Chapter 4 walkthrough. If you want to understand the creature chasing you, the Allosaurus section in the monsters guide covers its behavior and the difference between the scripted hunt and the free patrol. For the movement tech used in the wall-run gallery, see the movement guide.
Sources
- Terrible Lizards on Steam — release date, price, and platform details.
- PlayStation Blog developer interview — movement design and creature references.
- Terrible Lizards official site — setting and premise.
- Steam news hub for Terrible Lizards — patch 1.0.9 notes and developer Q&A.
Official source: Terrible Lizards on Steam — release date, price, platforms, and patch notes.
More Terrible Lizards Guides
A spoiler-light Terrible Lizards guide for the first hour: movement basics, chapter order, collectible priorities, and the mistakes that end early runs.
Every major Terrible Lizards encounter, from the Brontosaurus hunts to the Allosaurus fuse chase and the final Hybrid, with the route that ends each fight.
Every Terrible Lizards chase and hunt route, with the trigger, the escape path, and the exact spots where first runs lose the dinosaur.
All Terrible Lizards collectible totals and the confirmed amber, tape, note, statue, and stuffed animal locations, chapter by chapter.
Who Dennis is in Terrible Lizards: DJ's imaginary friend, the Paleo Pal mascot, and the creature in the lair, plus the story clues that connect them.
What happens at the end of Terrible Lizards: the crew lift escape, Dennis's fate, the black material, the bonus scene, and the sequel hook.
Terrible Lizards takes 6–10 hours for the main story, with chapter-by-chapter estimates, completionist timing, and the things that slow a first run down.
How Terrible Lizards movement works: aerial control, wall runs, slides, mantles, swings and bounces, with the timing that keeps chases from ending in a fall.