
Terrible Lizards Chase Sequences Guide: How to Survive Every Run
Every Terrible Lizards chase and hunt route, with the trigger, the escape path, and the exact spots where first runs lose the dinosaur.
Terrible Lizards is at its best when a dinosaur is behind you and the route is in front. The chases are not quick-time events, and they do not rely on a stamina bar. They are platforming tests with a timer made of teeth.
This guide covers every major pursuit in the game, in order. It explains what starts each chase, which way to run, and where the route punishes a pause. It does not include story spoilers beyond the encounters themselves.
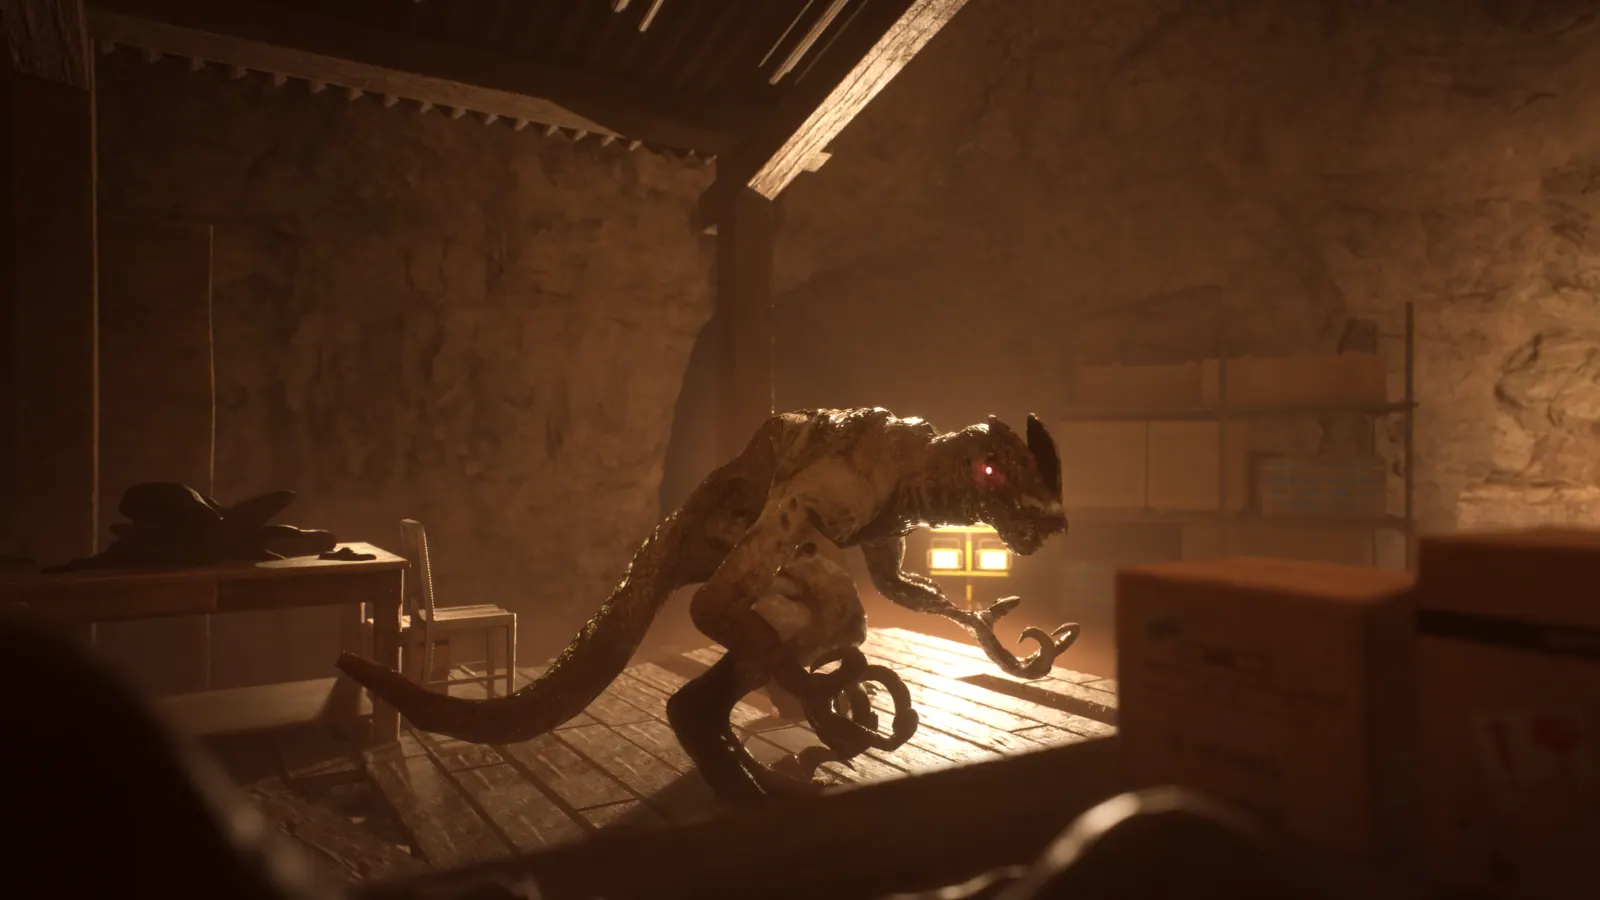
In every chase, follow the yellow lights, keep sprint held, slide into gaps instead of jumping, and never stop to look back. The Chapter 1 escape is scripted. The Chapter 2 Brontosaurus arena is a route puzzle. The Chapter 3 Allosaurus hunts are the hardest because the animal can cut through rooms. The Chapter 4 finale is a two-minute ascent.
The rules of a Terrible Lizards chase
The game teaches the same rules in every encounter:
- The route is marked. Yellow lights, yellow paint, and lit doorways show the way. If the room is dark and you cannot see yellow, you are probably facing the wrong direction.
- The dinosaur is not the puzzle. You cannot damage it, distract it with a throwable, or lock it behind a door permanently. The puzzle is the route.
- Stopping is the fail state. The animals close distance while you stand still. Even a short pause to read a note can end a run.
- Checkpoints are generous. A death sends you back to the start of the sequence, not the start of the chapter. You can practice.
- The camera is on your side. In a chase, the game often widens the view or lights the exit. Trust the framing.
Chapter 1: the gift shop escape
Trigger: Restoring the four fuses in the basement.
What happens: The lights come back on, and a Paleo Pal mascot starts patrolling the gift shop. Jordan has to cross the upper route to the second plug while the mascot moves below.
The route: Climb the gift shop shelves, cross the upper walkway, drop to the second plug, and reach the exit. The mascot cannot follow you onto the upper route, but it can catch you if you fall.
Where runs fail: Players drop down to grab a collectible and lose the height. The upper route is the safe route; stay on it until the plug is in front of you.
Difficulty: Low. This is the tutorial chase.
Chapter 1: the Brontosaurus reveal
Trigger: Completing the gift shop escape.
What happens: The floor gives way, and the Brontosaurus appears in the cavern. This is a scripted introduction, not a full chase. You run through the tunnel and reach the Chapter 2 entrance.
The route: Linear. Follow the tunnel, slide under the shutter, and keep moving.
Where runs fail: Nowhere, unless you stop to look at the dinosaur. The sequence is designed to be completed.
Difficulty: Tutorial.
Chapter 2: the first Brontosaurus escape
Trigger: Climbing the foreman's tower and pressing the red button.
What happens: The tower route drops you into a platforming section, and the Brontosaurus appears while you are crossing the suspended platforms. You have to reach the bunker before it closes the distance.
The route: Cross the hanging platforms, drop to the bunker ledge, and enter the corridor. The key is to keep moving across the gaps; the Brontosaurus cannot follow you into the bunker.
Where runs fail: The hanging platforms have long gaps. Players stop at the edge to line up the jump, and the Brontosaurus closes in. Jump early and use the air control to correct.
Difficulty: Medium.
Chapter 2: the Brontosaurus arena
Trigger: Entering the safe house and taking the dynamite.
What happens: The final section of Chapter 2 is a free-roam arena. The Brontosaurus patrols the structure while you place four dynamites. This is not a chase in the traditional sense, but the animal can close distance while you work.
The route:
- Place three dynamites around the outer walkways.
- Place the fourth behind the structure, under the light.
- The detonator is at the fourth placement.
- Detonate and reach the exit.
Where runs fail: Players assume the four dynamites are four fuses and search for a central panel. There is no panel. The detonator is the objective.
Difficulty: Medium. The arena is open, and the patrol is predictable.
Chapter 3: the first Allosaurus encounter
Trigger: Entering Site 4B.
What happens: The Allosaurus appears in a cutscene. This is a warning, not a chase. The game establishes that the animal is in the rail caverns and that the crew knew about it.
The route: Follow the linear path to the train worksite.
Where runs fail: Nowhere. You cannot fail this encounter.
Difficulty: None.
Chapter 3: the first Allosaurus hunt
Trigger: Completing the train worksite and opening the metal door.
What happens: The Allosaurus begins hunting you in the rail yard. The game gives you the Allo Has Rules note, which explains that a short stare can interrupt a charge.
The route:
- Move toward the narrow gap between the train cars.
- If the Allosaurus charges, look at it briefly to break the charge.
- Slide through the small hole when the floor collapses.
- Follow the flood chase to the wall-run section.
- Use the adhesive wall to reach the upper route.
Where runs fail: Players try to outrun the charge in a straight line. The stare is the intended tool. A brief look is enough; you do not need to hold it.
Difficulty: High.
Chapter 3: the second Allosaurus hunt
Trigger: Entering the large rail cavern with the central fuse panel.
What happens: The Allosaurus patrols the cavern while you search for four fuses and the shed key. This is the longest encounter in the game.
The route:
- Search the generator enclosure, the ground-floor office, the upper wooden office, and the locked wooden shed.
- Get the shed key from the upper key cabinet, reached from the ladder near the Call It In sign.
- Insert all four fuses into the central panel.
- Use the main console to open the gate.
- Reach the Motherlode structure.
Where runs fail: The shed key. Players find the shed first, then spend ten minutes looking for the key without realizing it is on the upper level. The other common failure is the Allosaurus cutting through the office while they search.
Difficulty: Very high. This is the hardest sustained encounter.
Chapter 3: the final Allosaurus escape
Trigger: Completing the Motherlode sequence.
What happens: The Allosaurus chases you through an organic cave toward the exit. The route is linear, but the cave has ramps, ledges, and a pedestal.
The route: Follow the yellow lights, use the ramps to gain height, place the stuffed animal at the pedestal near the sloped building, and reach the exit.
Where runs fail: The pedestal. Players stop to place the animal while the Allosaurus is still close. Place it only when the animal is behind you or the exit is in sight.
Difficulty: High.
Chapter 4: the opening chase
Trigger: Entering the Deep.
What happens: The Hybrid appears almost immediately and chases Jordan through the opening cavern. This is a scripted introduction to the final chapter.
The route: Follow the linear path, use the counterweight to lower the goo, and reach the military camp. The chase ends when you reach the camp.
Where runs fail: The goo. Players do not realize the counterweight lowers the goo, and they stand still while the Hybrid closes in.
Difficulty: Medium.
Chapter 4: the final ascent
Trigger: Starting the crew lift with the key.
What happens: The Hybrid attacks the lift, and Jordan has to climb the outside of the moving structure to reach the top. The game gives you two minutes, but the real timer is your route.
The route:
- Start the lift.
- When the Hybrid attacks, jump to the wall and run.
- Mantle the platforms, swing across the gaps, and climb.
- Reach the top and interact with the Hybrid.
- Kick it off.
Where runs fail: The wall run. Players jump at the wall straight on and lose the angle. Jump diagonally, run along the wall, and exit toward the next platform.
Difficulty: Very high. This is the final movement exam.
Chase tips that apply everywhere
- Hold sprint. The game has no stamina bar, and patch 1.0.9 fixed a controller bug that could disable sprint.
- Slide into gaps. A slide keeps you low and fast. Jumping over a gap is slower and easier to miss.
- Look at the exit, not the dinosaur. The camera and the yellow lights are designed to guide you.
- Do not grab collectibles mid-chase. The notes and tapes are for the slow sections.
- Practice with level select. You can replay a chapter after finishing it. The checkpoint is usually at the start of the chase.
FAQ
How many chase sequences are there? Every chapter has at least one. Chapter 1 has the gift shop escape and the Brontosaurus reveal, Chapter 2 has the first escape and the dynamite arena, Chapter 3 has two Allosaurus hunts and a final escape, and Chapter 4 has the opening chase and the final ascent.
Can you hide from the dinosaurs? Not permanently. The encounters are route-based. You can break line of sight, but the animal will keep patrolling.
Can you kill the Allosaurus? No. The Allosaurus is a hunter, not a boss with health. You escape it.
What is the hardest chase? The second Allosaurus hunt in Chapter 3. It combines a free-roam fuse search with a patrolling hunter.
Do chases have checkpoints? Yes. A death sends you back to the start of the sequence, not the start of the chapter.
Is the final ascent timed? Yes, the game gives you two minutes. The timer is generous if you keep moving; the fall is the real fail state.
What to read next
The bosses guide covers the creatures themselves. The movement guide explains the wall runs and swings you need. The Chapter 3 walkthrough has the full fuse route, and the Chapter 4 walkthrough covers the ascent.
For a faster route, see the speedrun guide. For the story, read the ending explained guide.
Sources
- Terrible Lizards on Steam — official feature list and creature descriptions.
- Steam news hub for Terrible Lizards — developer notes on encounter design.
- PlayStation Blog developer interview — movement and chase design.
- Xbox Wire: Movement Is Your Weapon — the no-combat philosophy.
Official source: Terrible Lizards on Steam — release date, price, platforms, and patch notes.
More Terrible Lizards Guides
Rail and Freight Caverns route: goo launch pads, the Allosaurus stare, the freight platform puzzle, and all four fuse locations.
The Deep route: DJ's Allosaurus tooth, the special-spectrum lights, Cavern A dynamite, the Crew Lift Key, and the two-minute Dennis chase.
All Terrible Lizards collectible totals and the confirmed amber, tape, note, statue, and stuffed animal locations, chapter by chapter.
Who Dennis is in Terrible Lizards: DJ's imaginary friend, the Paleo Pal mascot, and the creature in the lair, plus the story clues that connect them.
What happens at the end of Terrible Lizards: the crew lift escape, Dennis's fate, the black material, the bonus scene, and the sequel hook.
Terrible Lizards takes 6–10 hours for the main story, with chapter-by-chapter estimates, completionist timing, and the things that slow a first run down.
How Terrible Lizards movement works: aerial control, wall runs, slides, mantles, swings and bounces, with the timing that keeps chases from ending in a fall.
Terrible Lizards costs $24.99, with a launch discount to $19.99. Here is the platform list, Game Pass status, and the truth about the Free To Play tag.