
Terrible Lizards Chapter 1 Walkthrough: Dalton's Dinos
A complete route through Dalton's Dinos: the 9216 box office keypad, the Brontosaurus tail Amber, the fuse basement, and the first stuffed animal.
Chapter 1 is the part of Terrible Lizards that teaches you how to move, then quietly takes the training wheels off. You arrive at a fading Route 66 dinosaur park, meet a locked box office, and spend the next hour learning that the game will never give you a weapon. Every problem is a route: a tail you can climb, a shutter you can raise, a fuse you can carry, a monster you can outrun.
This walkthrough follows the route that gets you through Dalton's Dinos with all four fuses, the first stuffed animal, and enough collectibles that you are not replaying the chapter twice. If you only need the critical path, the bolded steps are enough. If you want the Amber Samples, tapes, notes, and the "You Go Here" progress, the optional lines are marked.
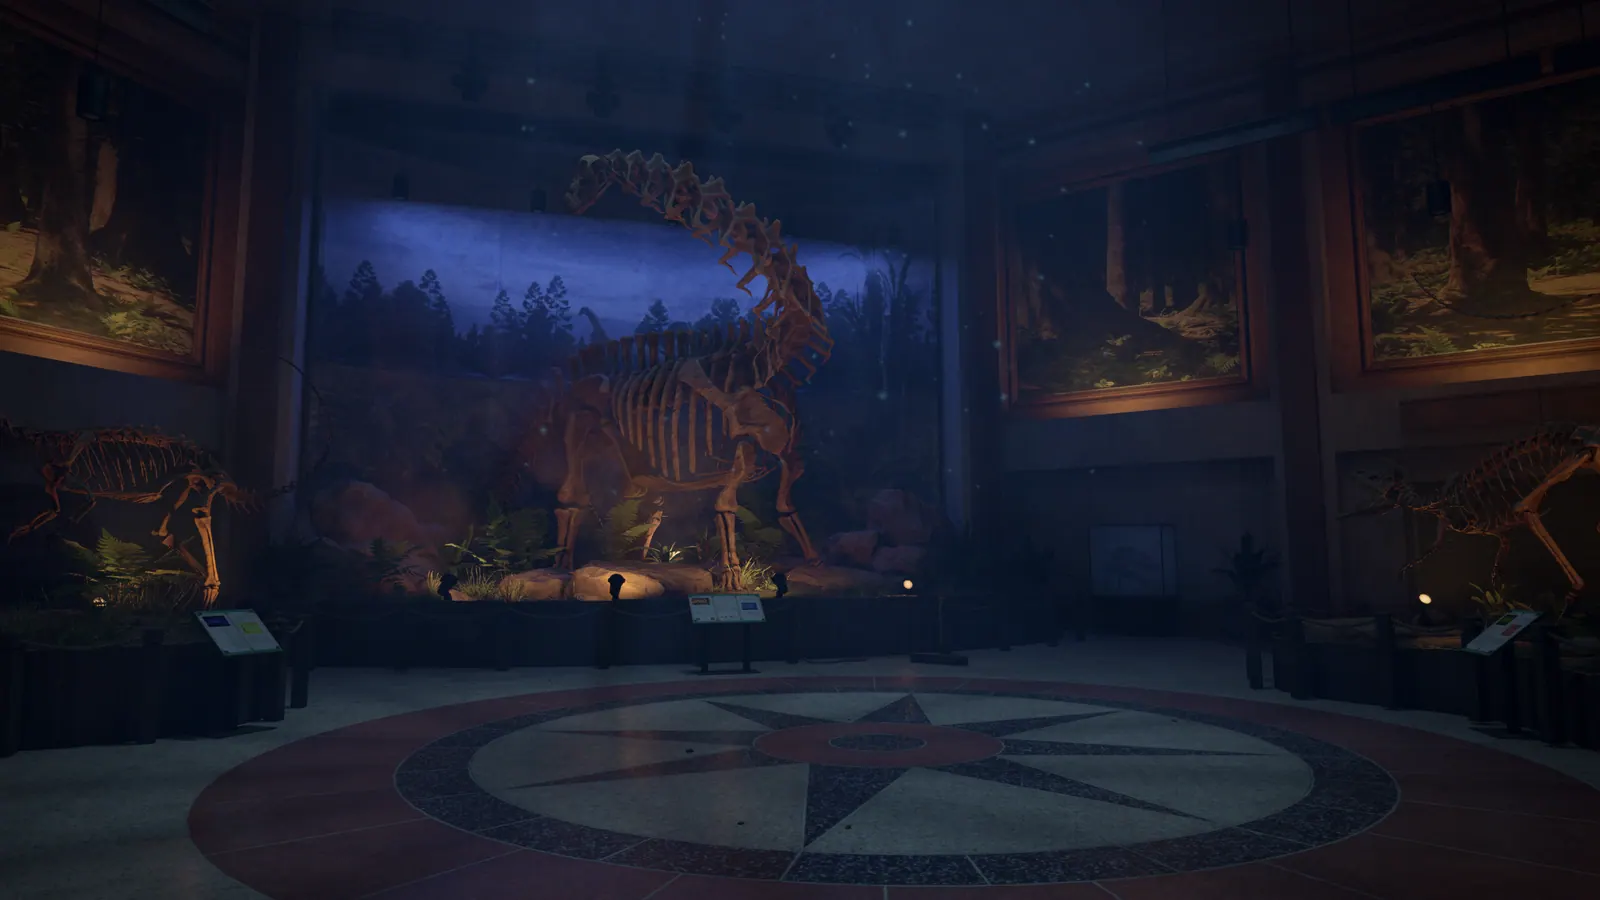
Enter the park, call the tow truck, and climb the Brontosaurus skeleton tail for the first Amber. Use 9216 at the box office keypad, restore the projector, then cross the exhibit hall to the control room. In the gift shop, collect four fuses from the basement, place the first stuffed animal on its pedestal, and escape into the caverns when the mascot cuts the lights.
Chapter 1 at a glance
| Detail | What to expect |
|---|---|
| Chapter name | Dalton's Dinos |
| Main threat | The Paleo Pal mascot in the gift shop |
| Keypad code | 9216 (box office) |
| Critical items | Projector coin, four fuses |
| First pedestal | Fuse basement, corner past the fuse rack |
| Chapter exit | Service tunnel behind the gift shop |
| Estimated time | 45–75 minutes on a first run |
The chapter is longer than it looks because the park has a front-of-house loop and a backstage loop. The front of house is safe. The backstage area is where the mascot starts patrolling, and where the fuse route becomes a timing problem rather than a navigation problem.
Start at the car and the pay phone
You begin in the passenger seat of Jordan's car. Take the letter from Mom on the seat; it is a note collectible, and it is easy to leave behind because the game gives you control before you realize the car is interactive. Step out, walk to the pay phone by the entrance, and call Bob's Body Shop. The tow is delayed. That call is the chapter's first trigger: it opens the front gate and gives Stella a reason to start talking to you over the headset.
Before you go inside, sweep the parking lot. There is nothing that changes the route, but the entrance sign and the ticket booth establish the park's scale. The ticket booth is locked from the outside. The lobby doors are the only way in.
The headset dialogue explains the park's layout and names the Brontosaurus skeleton as a landmark. It also sets up the chapter's objective: find a way into the backstage offices. Skipping the call does not skip the objective, but it does make the next room harder to read.
The lobby: skeleton tail and Amber 01
The lobby is a museum display with a ticket desk, a roped-off Brontosaurus skeleton, and a projector room above the seating area. The skeleton is not scenery. Walk around the left side of the display, climb onto the base, and follow the tail up to the first Amber Sample. The climb is a gentle introduction to mantling: hold forward, jump at the tail's low point, and let the character pull himself up.
Drop down and check the ticket desk. The manager's note is on the counter, and the box office keypad is behind the desk. The keypad wants four digits. The code is 9216. Enter it, and the office door unlocks.
Inside the office, pick up the staff memo and look at the projector controls. The projector needs a coin. The coin is not in the office. It is in the arcade, which is on the far side of the exhibit hall. This is the chapter's first real loop: the office gives you a reason to cross the exhibits, and the exhibits give you a reason to come back.
The exhibit hall route
The exhibit hall is a wide room with a dinosaur head mounted over a doorway, a shallow indoor pond, and a row of display cases. The route runs along the right wall, then cuts back along the left.
- Benji statue. Just left of the egg nest, a Paleo Pal statue is tucked against the wall. Interact with its talk box for the "Paleo Pal Review" achievement. This is one of several mascot interactions in the park.
- Amber 02. Climb the second dinosaur head, the one hanging from the ceiling beam, and follow the beam to the amber. The jump from the head to the beam is longer than it looks; run first, then jump.
- Cheryl's onboarding tape. Below Amber 02, on the stack of boxes, is an audio tape. Drop down carefully; the boxes are a valid landing spot, but the floor is not.
- Dalton's journal, February 27, 1983. On the upper path, on the crates before the wall hole, there is a note. The wall hole is the transition to the next exhibit, so grab the journal before you squeeze through.
- The Watering Hole globe. The globe is a large interactive prop in the next room. Spin it for the "Globe-fetti" achievement. Pterry's statue is on the wall nearby.
- Elena's New York tape. At the Watering Hole entrance, take the path through the trees, use the two branch swings, and check behind the box on the right. The tape is easy to miss because the branch swing looks like a dead end.
The exhibit hall ends at a staff door. The door leads to the control room, which is the chapter's hub for the next three objectives.
Control room, token shutter, and the projector
The control room has a bank of switches, a security guard's note, and a newspaper on the left path. Flip the switches until the token shutter opens. The shutter is the metal grate near the gift shop entrance; it stays open once raised, so you do not need to hold a button.
Behind the shutter is the token room. The token itself is on a shelf above the room, reachable by climbing the trees and the hanging metal platform. This is the same climbing language as the Brontosaurus tail, but the gap from the last platform to the shelf is a committed jump. If you miss, you drop into the gift shop, which is survivable but costs time.
Take the token back to the projector room. Insert it, start the projector, and watch the park pre-show. The film is the chapter's story beat: Dalton's Dinos was built on a fossil discovery, and the park has been running on nostalgia and duct tape ever since. When the film ends, the projector room's back door opens. That door leads to the mascot suit room.
The mascot suit room is behind the "No Entry" door left of the projector. Inside, a staff member's note sits on the bench, and the Benji suit hangs on the wall. The suit is a costume, not a monster. The distinction matters later. Take the note and leave through the side door; it drops you back into the exhibit hall near the gift shop.
Gift shop, arcade, bathrooms, and the VHS office
The gift shop is the chapter's densest collectible area. The front counter has Stella's instructions for Willy on the right side. Behind the dividers, a note about Dennis merchandise has been shoved out of sight. The arcade upstairs has DJ's journal about being sick, and the bathroom stall on the right has a crumpled flyer. The VHS office at the back has Elena's letter to Dalton and Dalton's March 15, 1981 journal.
The arcade is also where you find the coin if you have not already. The coin is on the counter, next to a machine that does not work. The in-game arcade cabinets are not playable; the coin is a key, not a minigame.
The first stuffed animal is on the ladder above the box office, by the tent. If you pick it up and die in the fuse basement, the carry resets. Either clear the basement first and come back for it, or play the basement route cleanly. The pedestal is in the basement, so the safest order is: clear the fuses, return for the stuffed animal, then place it.
Fuse basement: four fuses and the first pedestal
The fuse basement is under the gift shop. The entrance is behind the counter, down a stairwell with a flickering light. The basement has four fuses, a fuse rack, and the first stuffed-animal pedestal.
The fuses are not all in the same room. Two are on the main rack, one is in the side storage room behind the metal shelf, and one is on the upper catwalk above the generator. The catwalk is reachable by climbing the pipe on the left wall, then mantling onto the walkway. If you drop the fuse, it returns to its spawn point; you do not lose it permanently.
The basement also introduces the chapter's first real patrol. The mascot walks the gift shop floor above you, and its footsteps are the audio cue for when it is safe to cross the open section. You do not need to fight it. You need to wait for the footsteps to move away from the stairwell, then cross.
Once all four fuses are in the rack, the lights in the gift shop change. The front doors lock. The mascot drops into the shop floor. This is the escape sequence.
The gift shop escape
The escape is a short chase, not a boss fight. The mascot is slower than you are at a sprint, but it cuts through the middle of the shop while you have to go around the shelves. The route is:
- Sprint out of the basement, turn left at the counter, and vault the first shelf.
- Cut through the arcade doorway, not the bathroom corridor; the bathroom is a dead end.
- Climb the stacked crates by the loading door and drop onto the receiving dock.
- Run through the service tunnel until the screen fades.
Do not stop to grab the note on the loading dock. The mascot's path crosses the dock, and the note is not worth a death. If you need it for the collectible count, replay the chapter from level select after the story is done.
The service tunnel ends at a metal door. Open it, and Chapter 1 ends. Stella's voice returns, the camera pulls back, and you get your first proper look at the caverns under the park.
Mistakes that cost first runs
- Missing the Brontosaurus tail Amber. It is the first collectible and the easiest to walk past. The tail is on the left side of the skeleton, not the right.
- Entering the basement without the stuffed animal plan. The carry resets on death, and the basement is the first place where death is likely.
- Using the bathroom as an escape route. It is a dead end with one note. The arcade doorway is the correct exit.
- Skipping the projector film. The back door does not open until the film finishes. The film is also the chapter's main story beat.
- Trying to fight the mascot. There is no attack button. The only correct response to a chase is forward movement.
FAQ
How long is Chapter 1 in Terrible Lizards?
Most first-time players take 45 to 75 minutes, including the collectible detours. A straight critical-path run is closer to 30 minutes once you know the route.
What is the box office code in Chapter 1?
The box office keypad code is 9216. The keypad is behind the ticket desk in the lobby.
Do I need to find all four fuses in the basement?
Yes. The fuse rack will not power the gift shop until all four are seated. Two are on the main rack, one is in the side storage room, and one is on the upper catwalk.
Can I go back for collectibles after finishing the chapter?
Yes. Level select unlocks the four chapters, and nothing in Chapter 1 is permanently missable. Replaying the chapter resets its collectibles, but your overall totals are saved.
What to do next
Chapter 1 ends with a one-way drop into the caverns. The next route is the Chapter 2 Digsites walkthrough, which introduces the generator puzzle, the foreman's tower code, and the first Brontosaurus hunt. If you want to clean up this chapter before moving on, the collectibles guide lists the Amber, tape, and note categories, and the achievements guide explains which mascot interactions count toward Paleo Pal Review.
For the official game description and current store details, see the Steam page and the official Terrible Lizards site. The developer's movement design notes are in the PlayStation Blog interview.
Official source: Terrible Lizards on Steam — release date, price, platforms, and patch notes.
More Terrible Lizards Guides
A spoiler-light Terrible Lizards guide for the first hour: movement basics, chapter order, collectible priorities, and the mistakes that end early runs.
Every major Terrible Lizards encounter, from the Brontosaurus hunts to the Allosaurus fuse chase and the final Hybrid, with the route that ends each fight.
Every Terrible Lizards chase and hunt route, with the trigger, the escape path, and the exact spots where first runs lose the dinosaur.
All Terrible Lizards collectible totals and the confirmed amber, tape, note, statue, and stuffed animal locations, chapter by chapter.
Who Dennis is in Terrible Lizards: DJ's imaginary friend, the Paleo Pal mascot, and the creature in the lair, plus the story clues that connect them.
What happens at the end of Terrible Lizards: the crew lift escape, Dennis's fate, the black material, the bonus scene, and the sequel hook.
Terrible Lizards takes 6–10 hours for the main story, with chapter-by-chapter estimates, completionist timing, and the things that slow a first run down.
How Terrible Lizards movement works: aerial control, wall runs, slides, mantles, swings and bounces, with the timing that keeps chases from ending in a fall.